DIY Faux Copper Planter for Upscale Industrial Decor
10:40We know that photos can be an amazing source of design inspiration, so this article may contain affiliate links that will direct you to a particular decor item. Clicking on a link may result in a portion of proceeds being paid to www.decoist.com
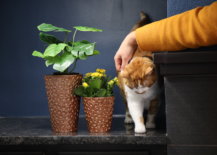
The great part about DIY projects is that with a little creativity and a few supplies, you can take any old object and turn it into something beautiful! Take that old silver bucket you’ve got in the garage, for instance. Have you ever thought of turning it into something like a faux-copper planter? With just a few supplies and a little bit of your time, we’re going to show you how to re-fab that old bucket to turn it into a textured copper planter that will complement any plant you bring into your home.
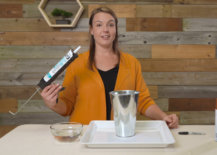
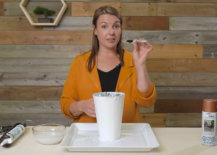
Supply List:
- A bucket
- Rustoleum Copper Metallic spray paint
- DAP silicone caulking
- Bowl of water
- Marker or round-tipped object
- We chose to use a Sharpie.
Step 1:
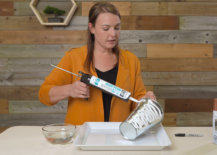
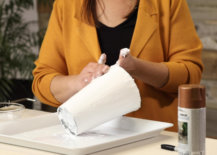
Start by covering your bucket in the DAP silicone caulking. Layer it on thick, smoothing it over the entire surface, rubbing it in with your fingers.
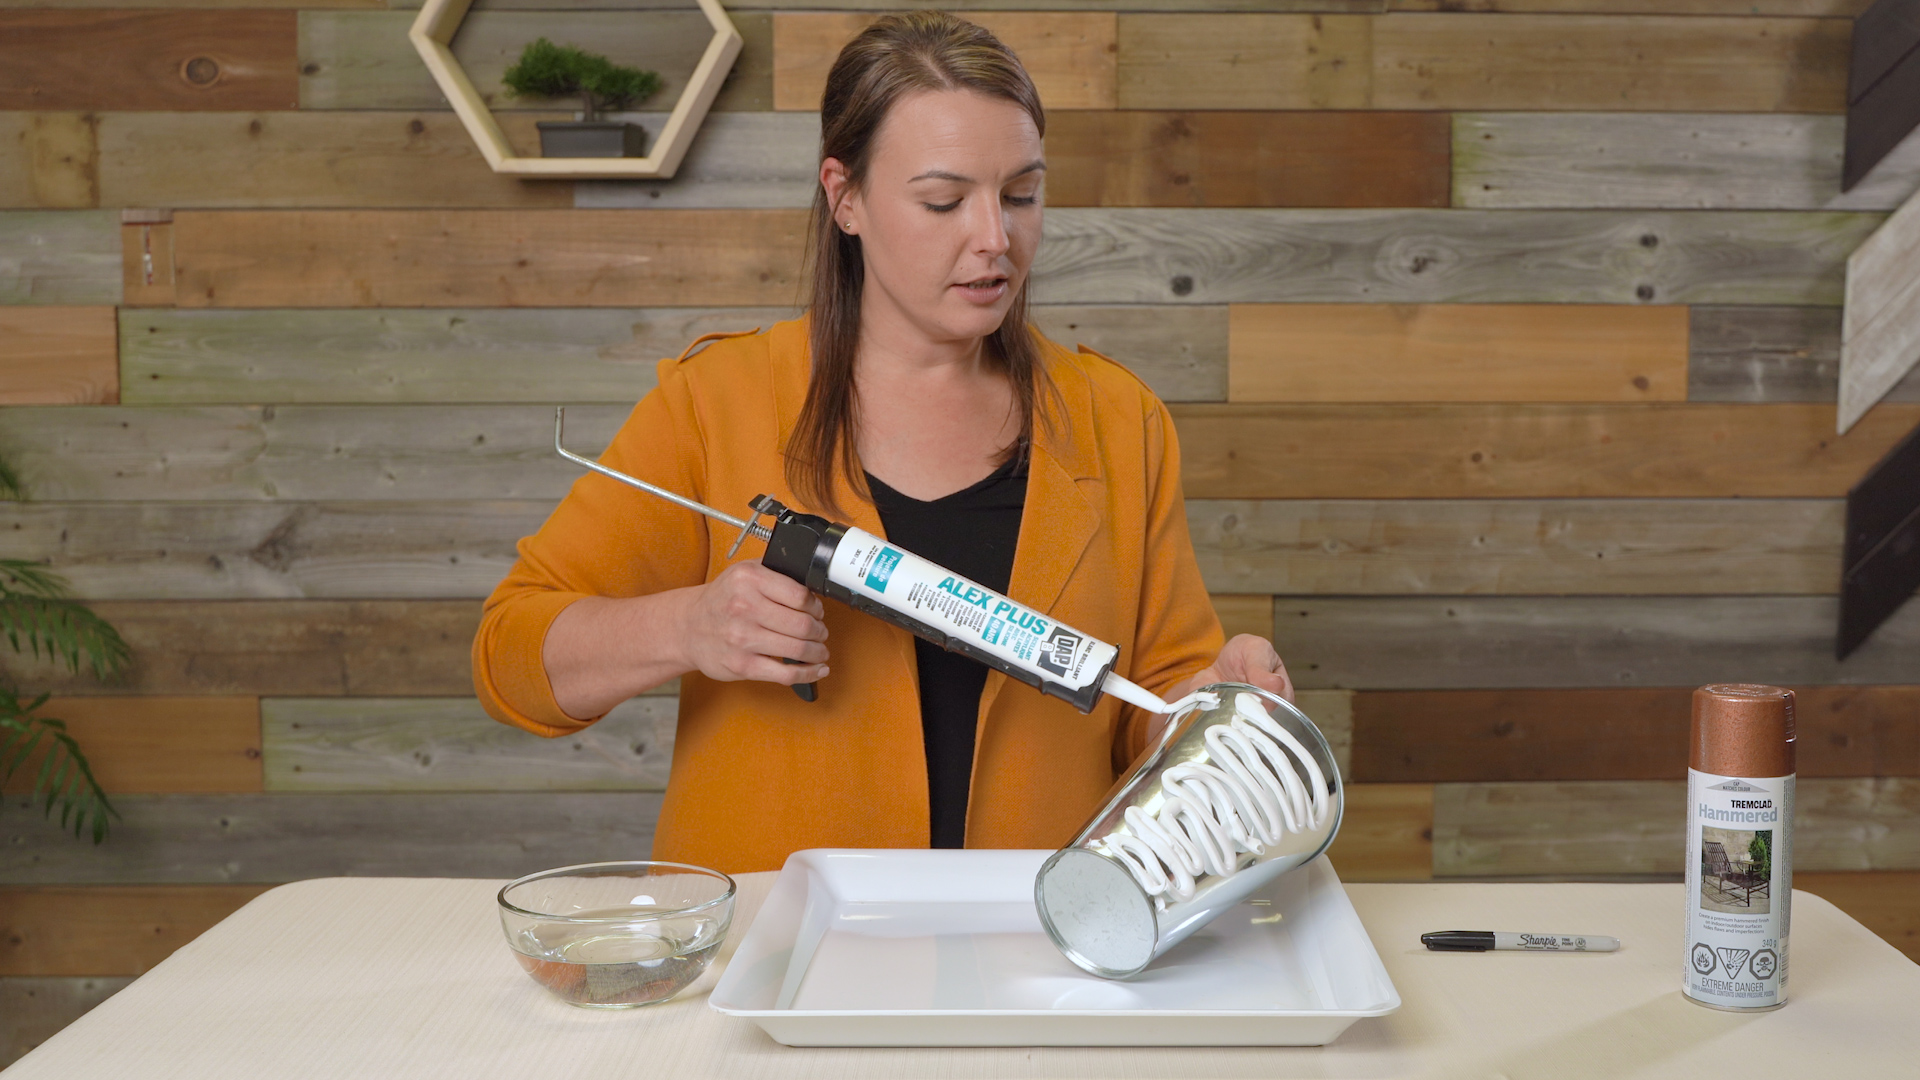
Step 2:
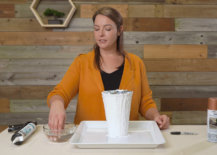
Once the bucket is covered, dip your fingers into the bowl of water and rub the water across the surface of the bucket. The goal is to smooth out the silicone caulking so it’s even.
Step 3:
Leave the bucket to dry for approximately an hour.
Step 4:
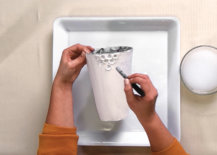
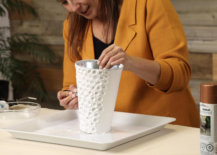
Take the marker or round-tipped object and dip it in water, then press it into the caulking. Use small, circular motions to widen the circles when you press the marker into the surface.
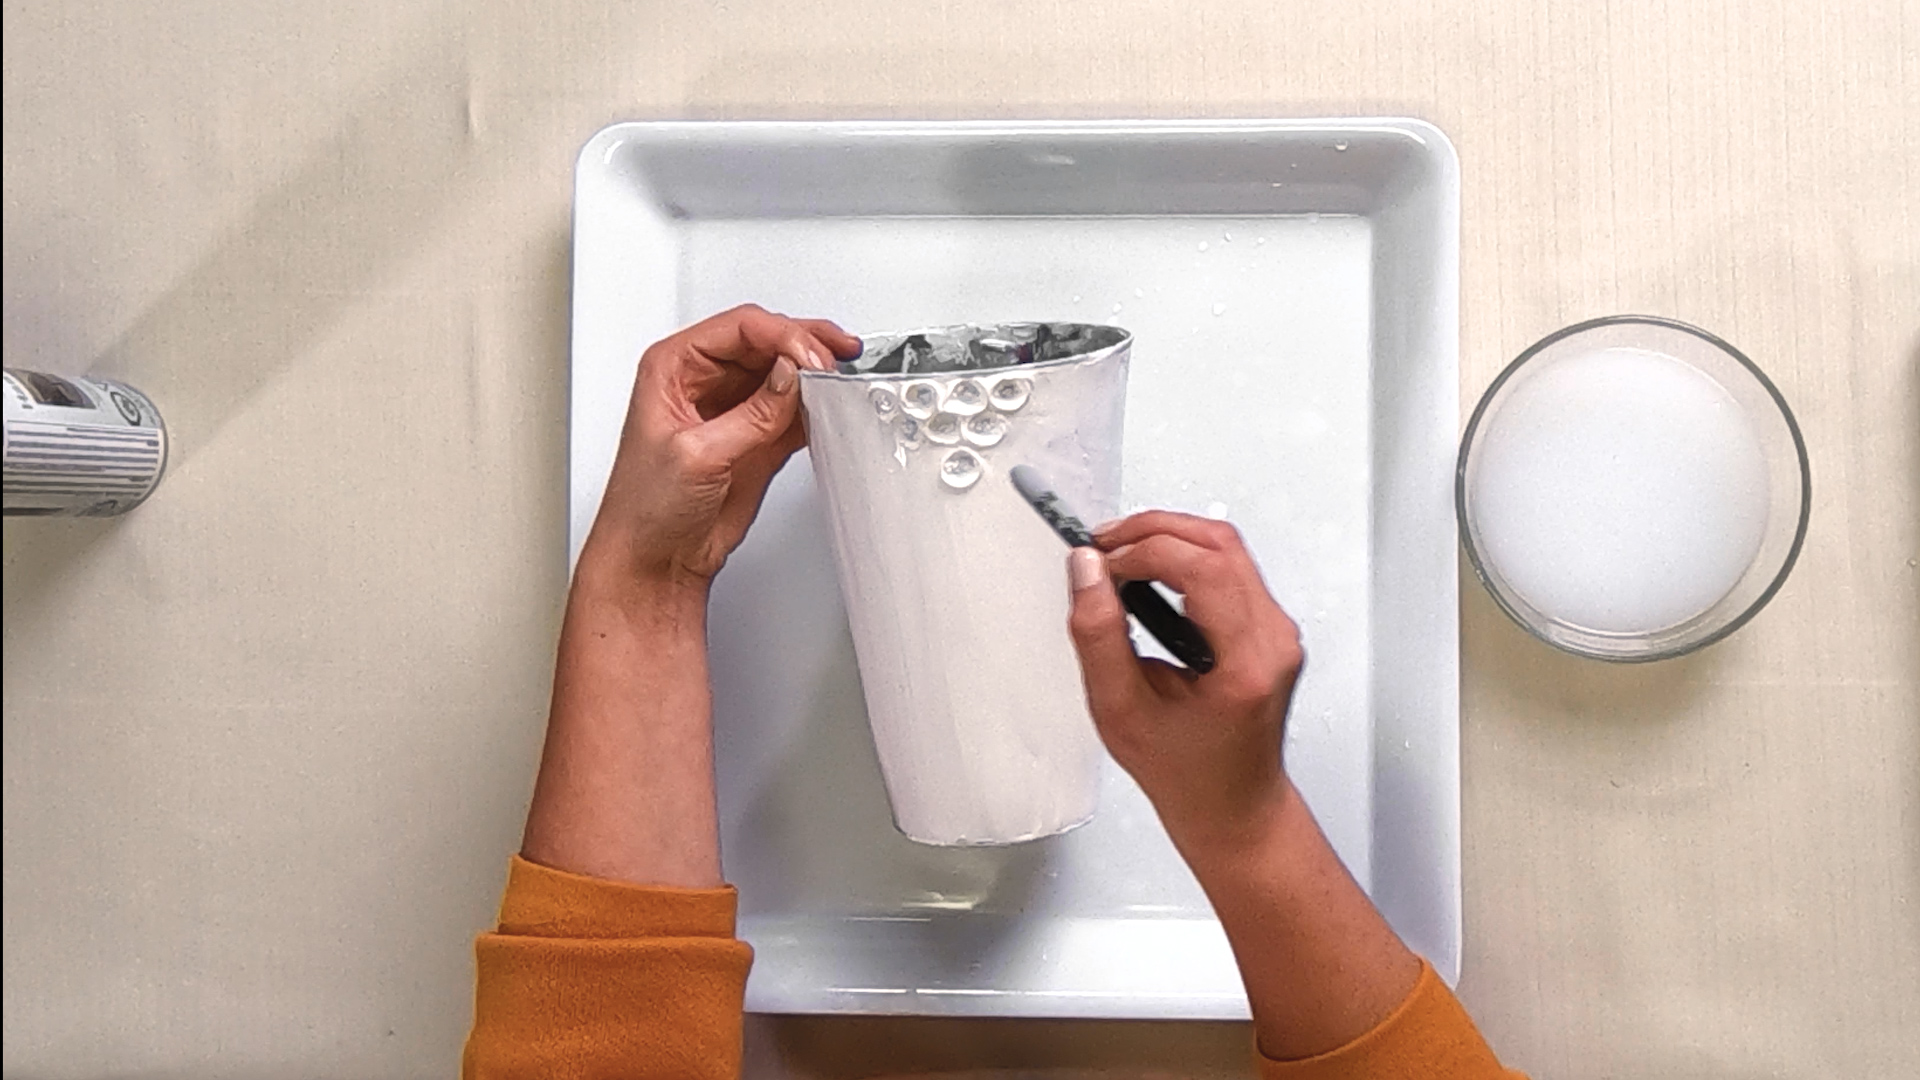
PRO TIP: If you make a mistake, you can smooth it over with more caulking and water.
Step 5:
Repeat the process with the marker until you’ve achieved the desired look. The placement and pattern of the circles is up to you. For a more textured look, keep the circles close together.
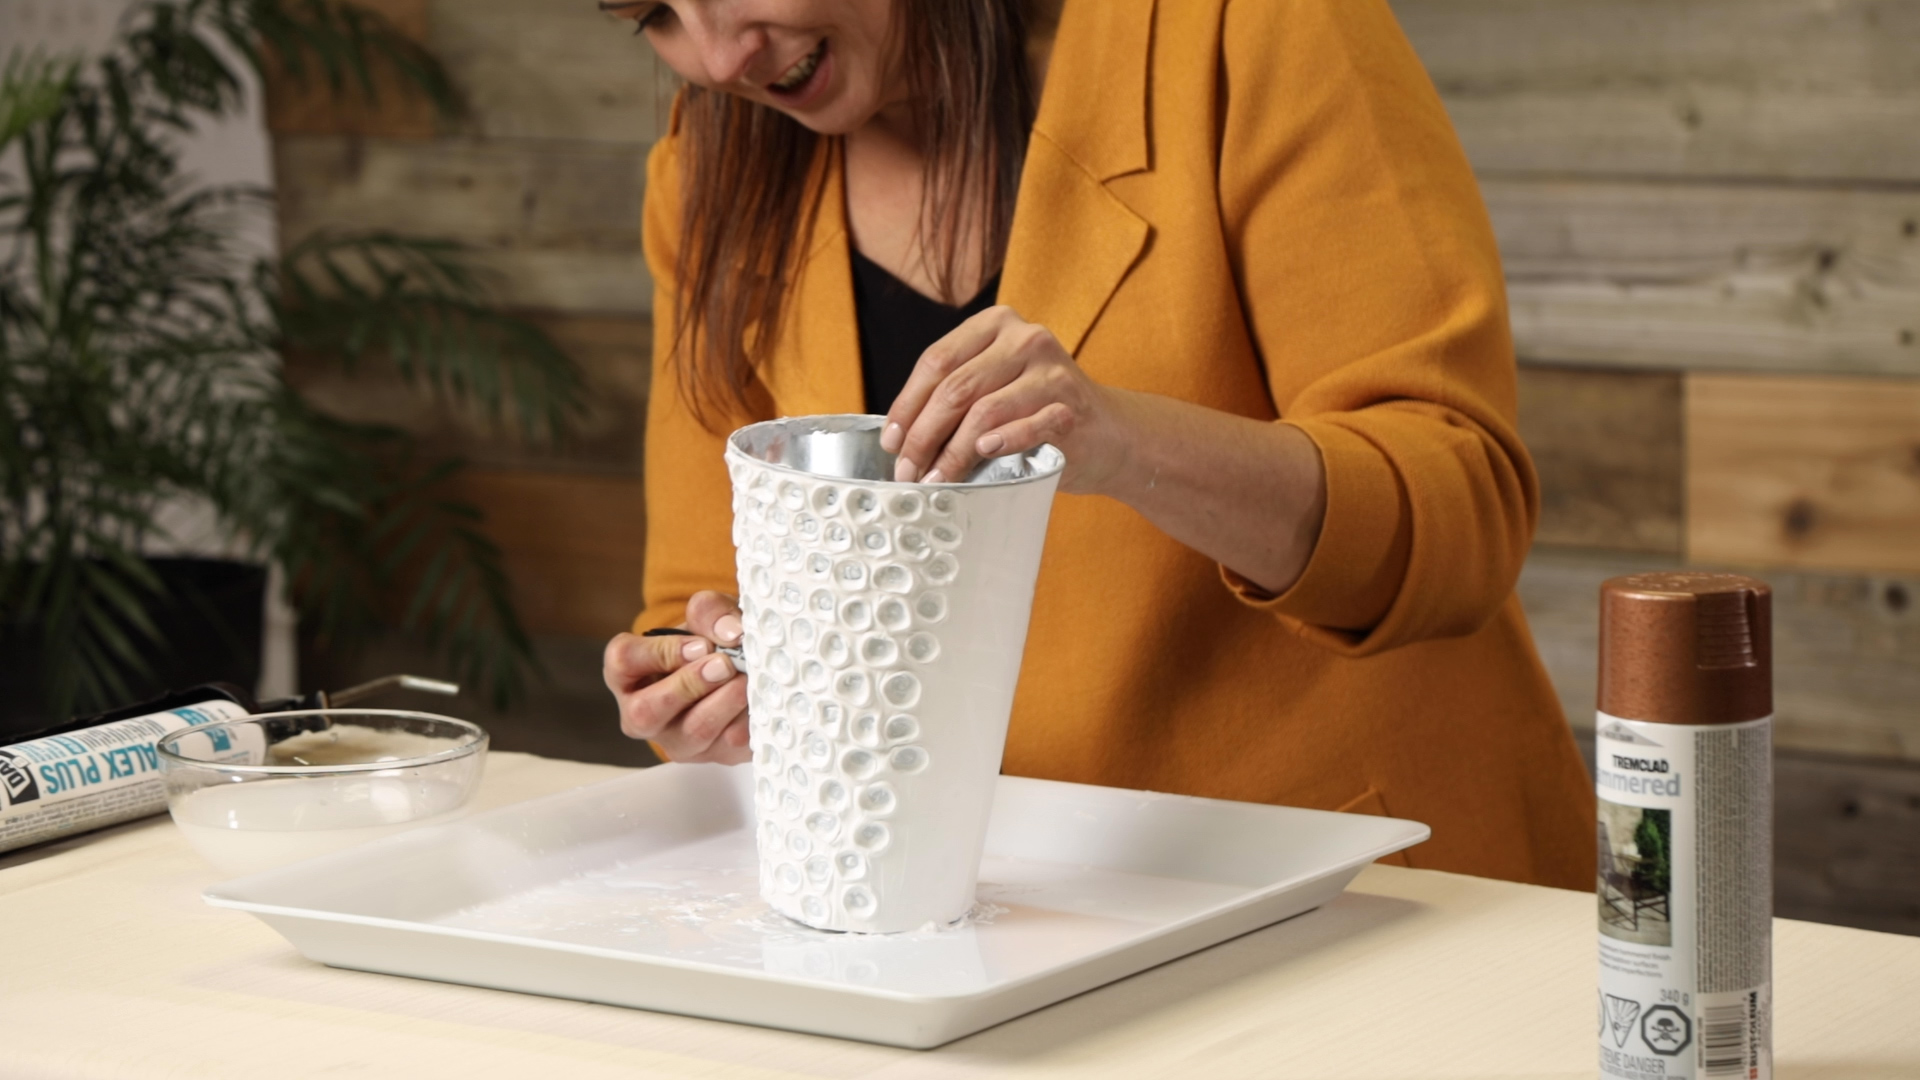
Step 6:
Leave the bucket to dry for 24 hours before coming back to it.
Step 7:
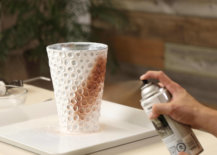
Once the bucket has dried, take your Rustoleum Hammered Copper metallic spray paint and use it cover the entire surface.
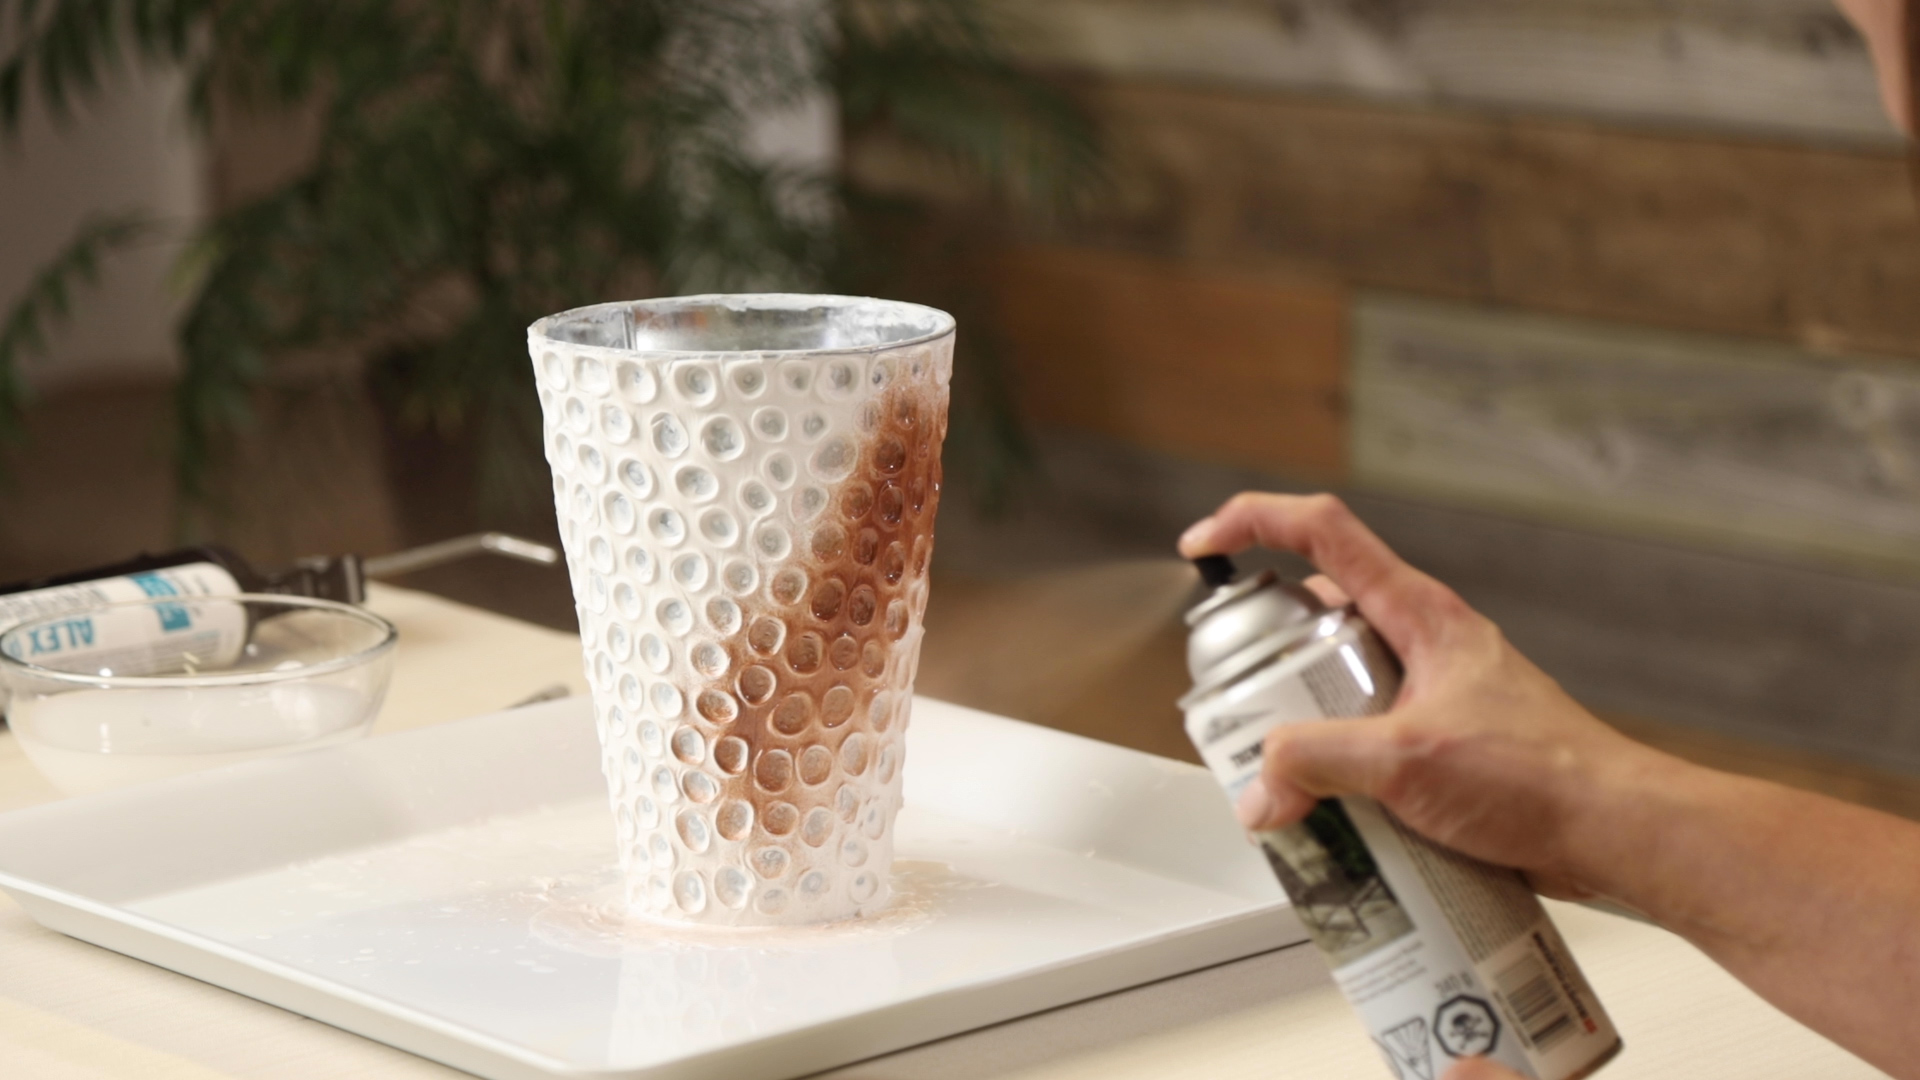
Ta-Da! A really simple DIY project that anyone can do! For more DIY home project ideas, or if you’re looking to share your own creations, check us out on Facebook, Pinterest, or Instagram.



You're reading DIY Faux Copper Planter for Upscale Industrial Decor, originally posted on Decoist. If you enjoyed this post, be sure to follow Decoist on Twitter, Facebook and Pinterest.
Posted By : Julia Thompson
0 comments